The Beginning
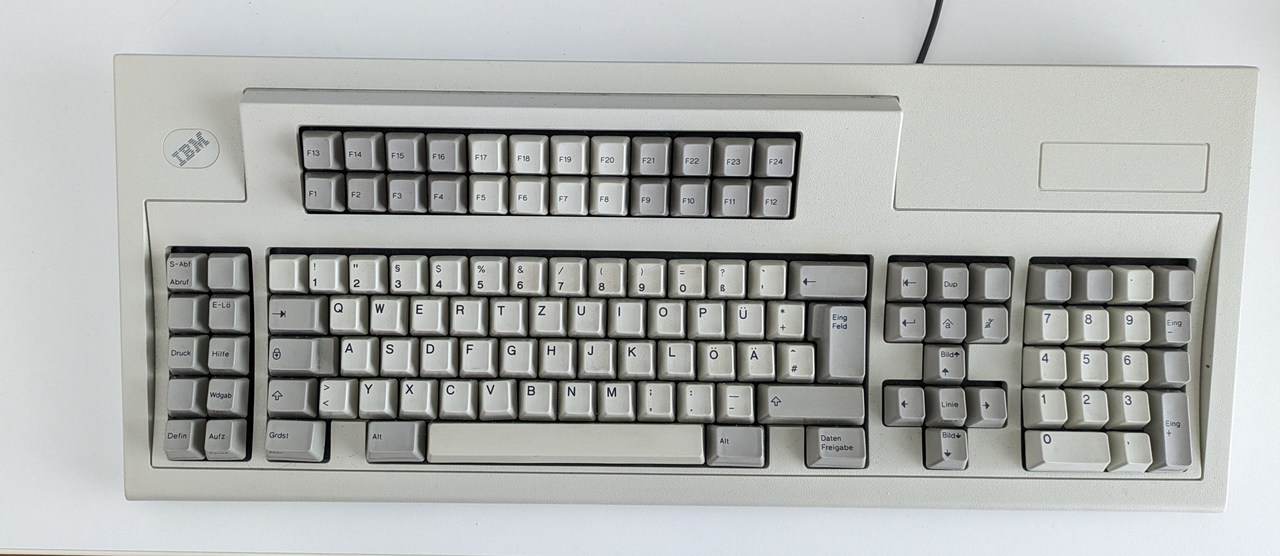
My first step was to order a surviving specimen of the IBM M122 from Ebay. I found one that is in pretty good nick. My baby has a German ISO Layout, built in January 1992, and the part number reads 139 4312. I decided to discard the slightly discussting crusted connection cord. Furthermore, I investigated the options to add adapters to the original keyboard controller and decided that all the available converters are more makeshift solutions than anything else. Being a professional embedded developer I accepted the challenge to provide a more modern interface solution for the classic piece of hardware. I wanted my keyboard to have full support for all these fantastic keys, a USB HID connection, Bluetooth connectivity. After some investigation I decided to use the ZMK firmware package running on a Nordic nRF52840 as the route to follow.
The Hardware
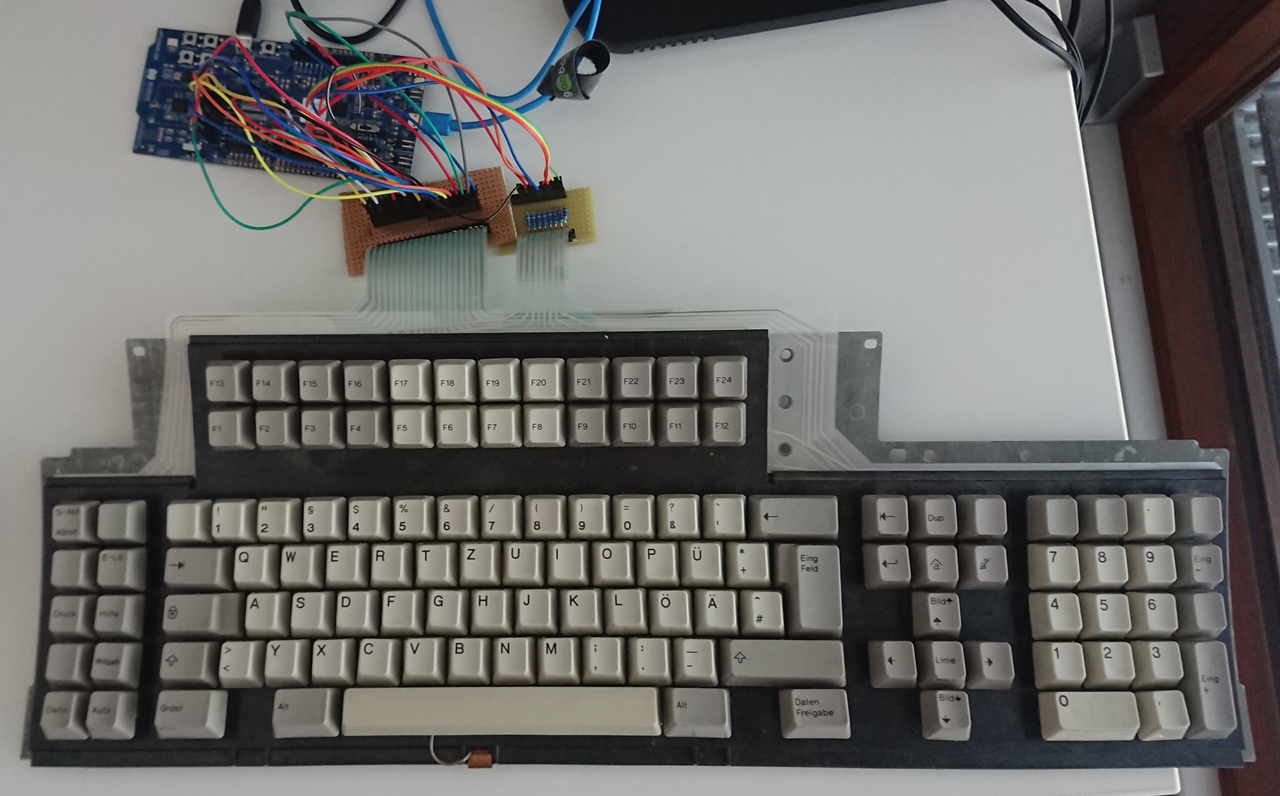
Before commiting myself to expensive and time consuming hardware designs, I wanted to check the feasibility of my project. First step was ordering the flatcable connectors. Original connectors are still available from Digikey. I soldered a pair of connectors to prototype boards, added resistors to the row connection and used a plethora of jumper cables to connect everything with a Nordic nrf52840 development kit.There are plenty of alternative boards to the Nordic kit available but most hobbyist boards lack the full set of general purpose ports. The M122 uses a key matrix with 8 rows and 20 columns. So, 28 pins are necessary to drive the keyboard matrix. In principle one could use interface expanders to have more port pins available, it just feels less elegant than doing everything with a single controller chip.The development kit based contraption prooved to be relatively reliable, I used my keyboard for weeks in this configuration. Though, the missing outer shell gave the whole set up the look of a prop for a dystopian movie.

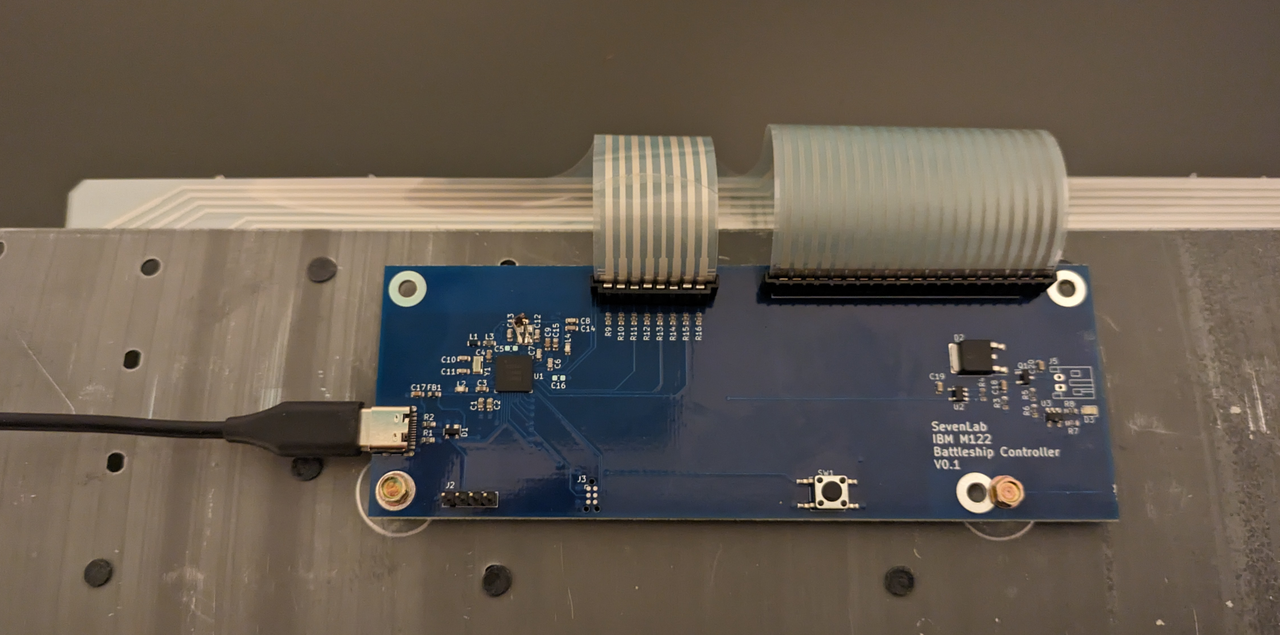
Taking the operational development kit version as a starting point I developed a PCB for my M122 using KiCAD as design tool. My idea was to create a drop in replacement for the existing controller. This solves all the PCB-mounting and flat flex cable routing issues at the cost of a rather large and expensive PCB. But, in the end the whole project is not about saving money. For the Bluetooth antenna I decided to go with a PCB antenna, I do not need high efficiency antenna operation to bridge the usual distances on my desktop. For USB I use a type C connector, of course. The nRF controller cames with a challenge on its own. The controller comes in an aQFN package that calls for advanced PCB manufacturing technologies. I was not sure that my board layout would actually work, and not sure about the reliablility of the production process. So, I procastrinated the order at JLCPCB for some weeks until I finally collected enough strength and self-confidence to place it. I decided that blue is the colour of choice for this project, because you know, Big Blue. When I received the first iteration of the PCB I found out that I miscalculated one mounting hole position and messed up the footprint of the high speed quarz.

After a final touch to the pcb layout I placed an order for the next iteration with JLC. This time it worked like a charm.
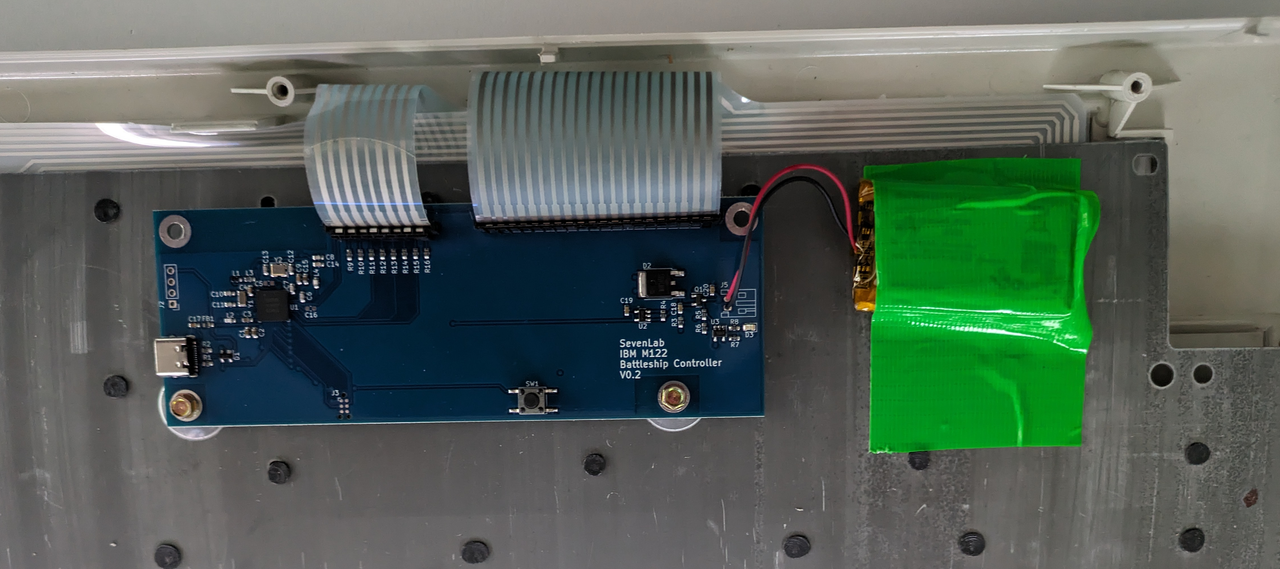
The new board replaces perfectly the original board. For Bluetooth operation the keyboard is powered from a recharheable power pack. For my personal taste it is fine to glue this pack with a strip of gaffer type. I tell myself that I avoid unnecessary mechanical stress on the delicate cells.

The board has a reset button which can be really useful as the board can run from battery power a fact that makes power down resets practically impossible. I admit that I drilled a small hole into the outer shell of the keyboard to allow actuation of the button by the a mangled paperclip. Still left on my to-do list is a nice feedthrough for the USB cable. For now I just have the cable dangling out of the original outlet. This is connected to the USB connector on the controller PCB.
The Firmware
Firstly, let me state that Zephyr https://www.zephyrproject.org is the future for embedded software development. That being said, ZMK https://zmk.dev was the obvious choice for my project.The symbiosis between Nordic Semiconductor and the Zepyhr project makes it a breeze to work with that combination. I started out from one of the many nrf52840 based keyboard projects. All I needed to do was to modify device tree defintions to match my GPIO port configuration and keyboard layout. Fortunately, clever people before me already explored the key matrix of the IBM M122.So, I spend more time of the firmware development searching typos in my device tree than anything else. Once I received my final hardware making the step from the development kit GPIO configuration to the final configuration for my own PCB layout was made in no-time. I followed the choice from the ZMK project to use the Adafruit bootloader, mostly because I was too lazy to set a bootloader with MCUBOOT up. Actually, I had the intention to upstream my board configuration files, until I learned that ZMK only upstream boards that are commercially avialable, or already attracted larger communities. In summary I can only stress that everything worked out of the box. I never had to dive into the keyboard matrix driver, the USB interface, or the Bluetooth protocol.
The Result

Everthing works as expected. The keyboard is my everyday workhorse.
The Documentation
All resources that are needed to redo my makeover adventure are published on https://github.com/SvenHaedrich/m122_keyboard.