that washer idea is amazing !
i think i need to get around to doing that AT mod
Bringing the IBM PC XT into the 21st Century
-
Muirium

- µ
- Location: Edinburgh, Scotland
- Main keyboard: HHKB Type-S with Bluetooth by Hasu
- Main mouse: Apple Magic Mouse
- Favorite switch: Gotta Try 'Em All
- DT Pro Member: µ
Yes, I'm trying to work around a broken spacebar stabiliser on my Kishsaver:wcass wrote: The F-122, and 4700 keyboards have retention clips already - though sized for thinner stabilizer wire. I would recommend using the F-M stabilizer adapter bars that I make for this. I ordered more tubing recently, so I will be making more. The washer trick would work if you had a broken stabilizer clip on one of those models, or on a model without clips (XT, Bigfoot, AT). Twist action might be an issue without the alignment studs. I'll have to check it on an AT and Kishsaver to see.
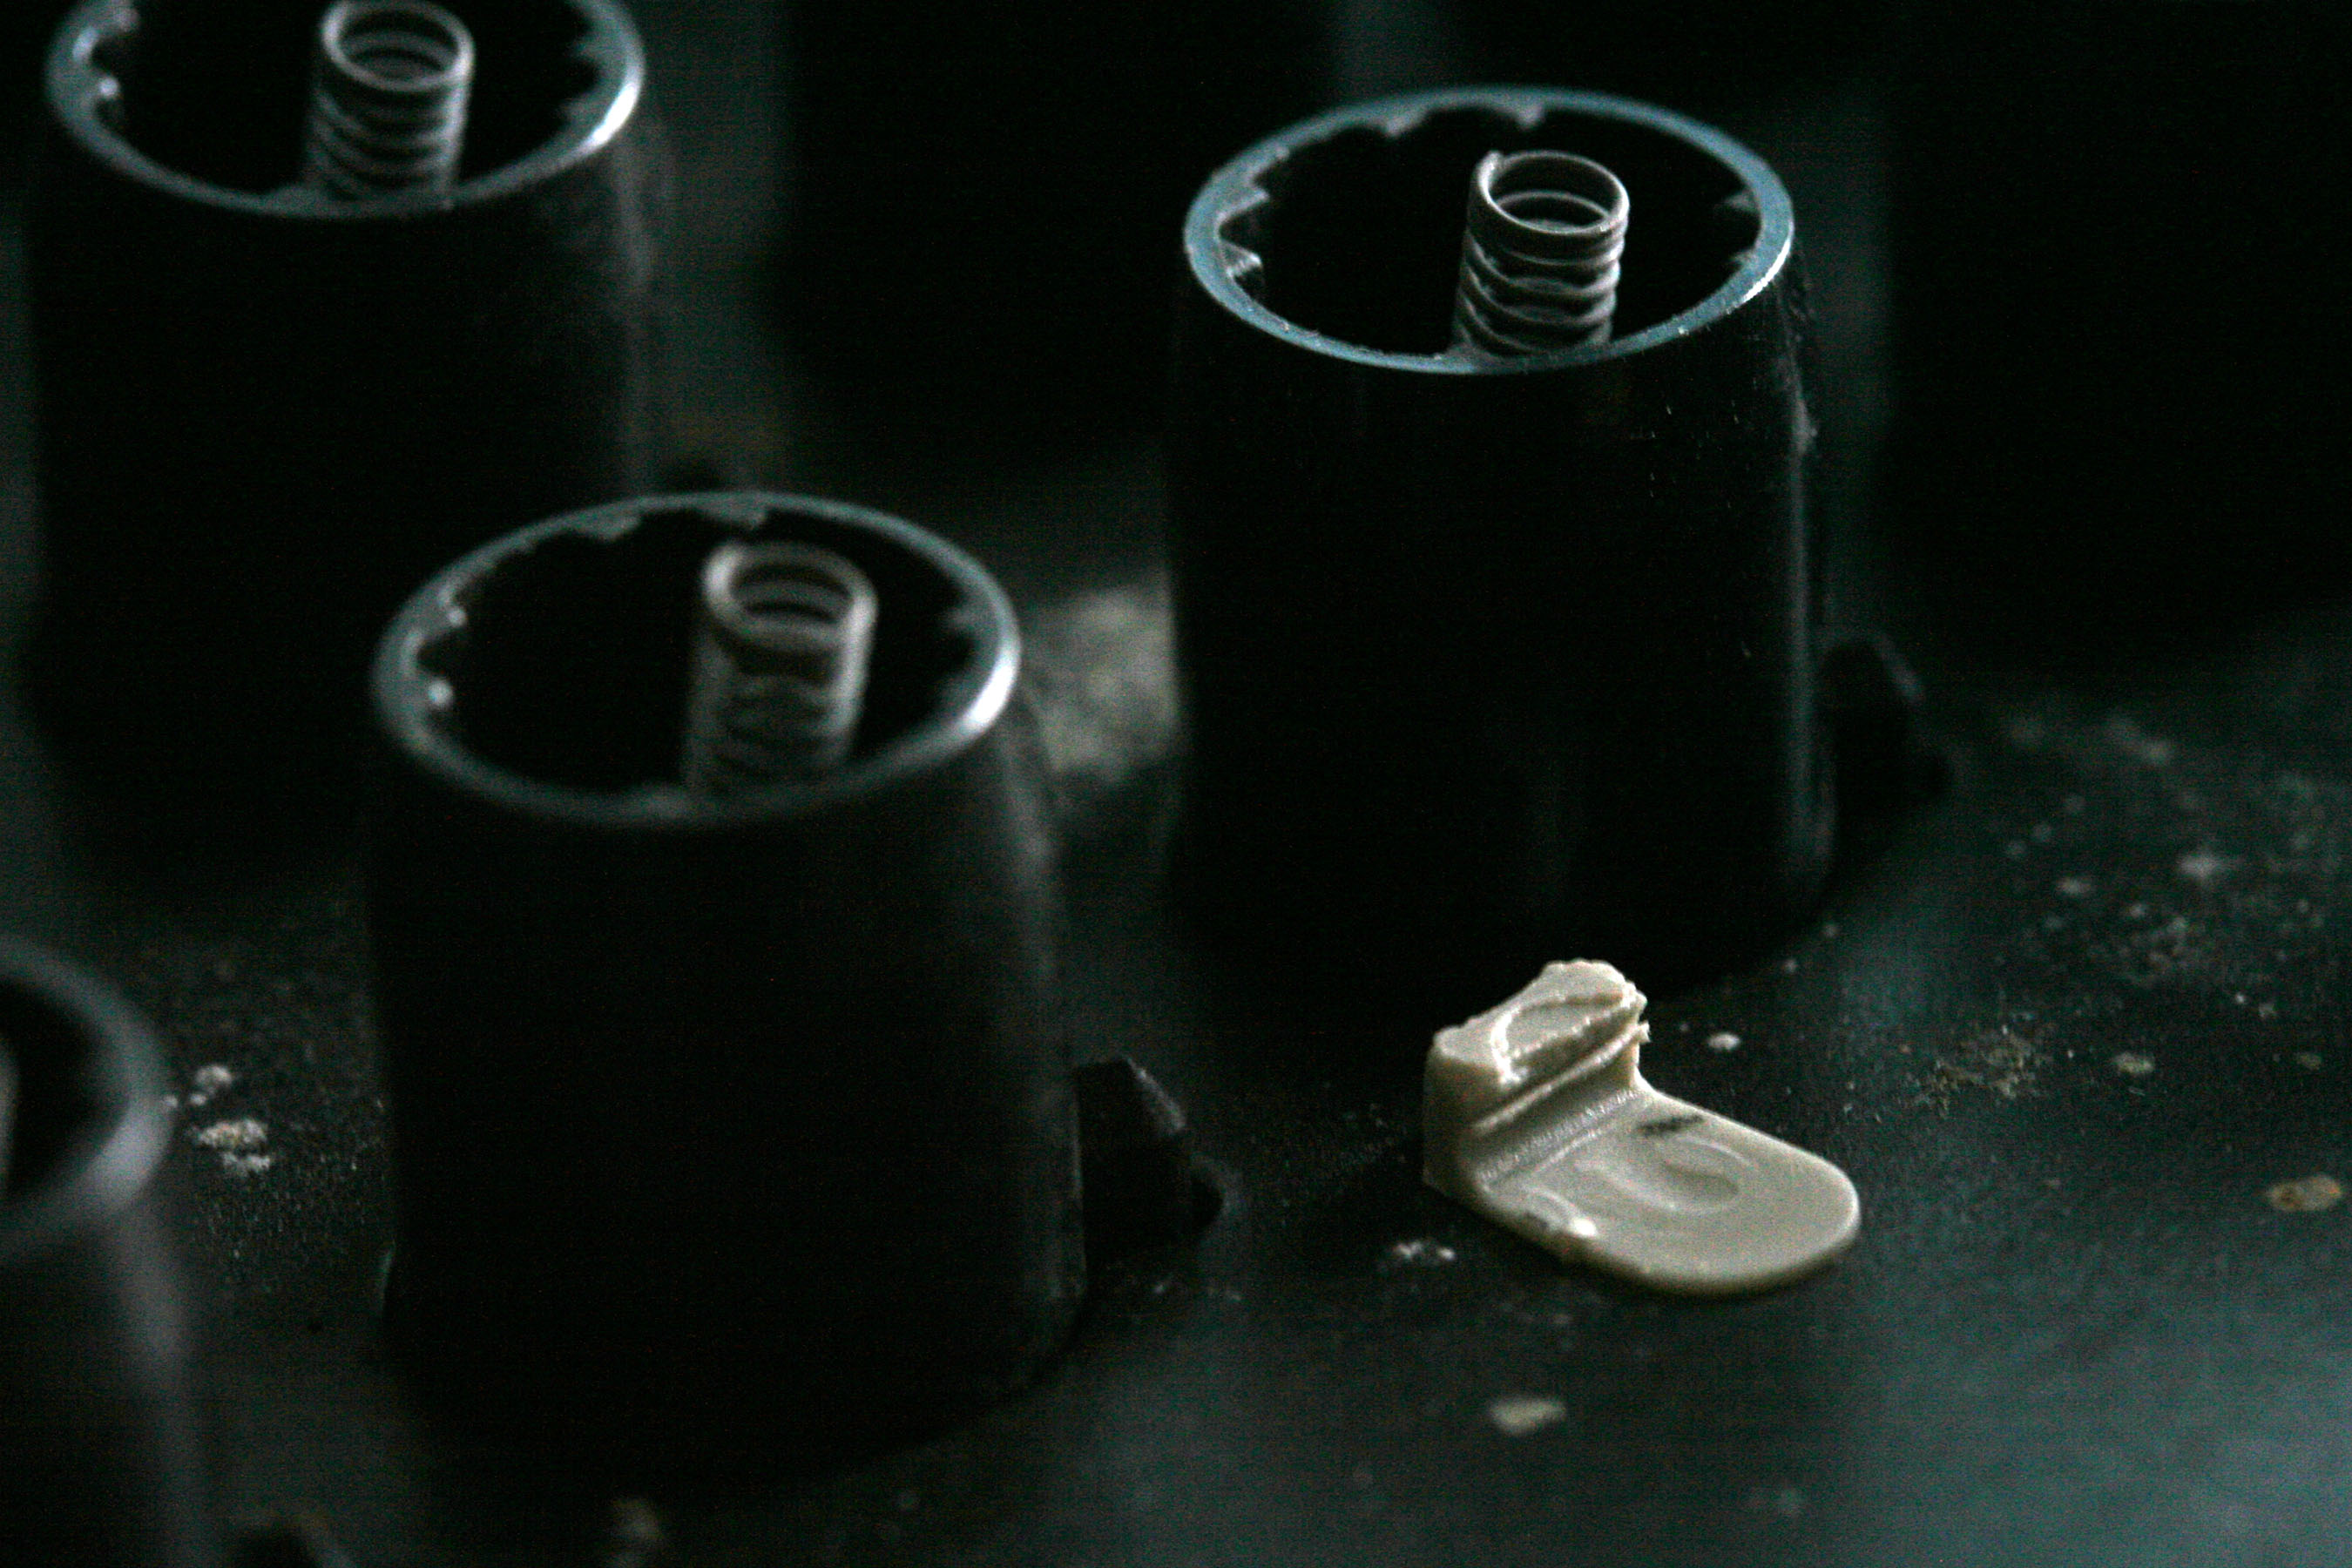
I glued an AT stab holder on top of the plate as a quick fix, which works well enough besides one obvious flaw: my spacebar leans up to the right. I was too damn nervous to pop the original, snapped one out of its place from the underside, as I found the whole barrel plate was too flexible for me to use enough force. Can't exactly find another Kishsaver for spare parts to fall back on!
-
Hypersphere

- Location: USA
- Main keyboard: Silenced & Lubed HHKB (Black)
- Main mouse: Logitech G403
- Favorite switch: Topre 45/55g Silenced; Various Alps; IBM Model F
- DT Pro Member: 0038
It is ironic that IBM built steel zombie-killers like the Kishsaver and others in the 4704 family, while incorporating Achilles' heels such as the dinky plastic stabilizer-wire mounts.
-
wcass

- Location: Columbus, OH, USA
- Main keyboard: ibm model m
- Main mouse: kensington expert mouse
- Favorite switch: buckeling spring
- DT Pro Member: 0185
Muirium, the washer trick should work very well for you. I think a washer for 11mm bolt would be the metric equivalent. Remove the glued on mount, but leave the original broken mount on to prevent cap twist.
-
Muirium
- µ
- Location: Edinburgh, Scotland
- Main keyboard: HHKB Type-S with Bluetooth by Hasu
- Main mouse: Apple Magic Mouse
- Favorite switch: Gotta Try 'Em All
- DT Pro Member: µ
Excellent! Thanks Wcass. Anything else I should look for in a washer? I'm wondering whether heavier ones are better, or if there's a thickness to bear in mind. I'll rummage about and see what I can find.
-
wcass
- Location: Columbus, OH, USA
- Main keyboard: ibm model m
- Main mouse: kensington expert mouse
- Favorite switch: buckeling spring
- DT Pro Member: 0185
I've only tried the two (identical) washers and they seem to work, so your guess is as good as mine. I know you need a relatively tight fit. I measure the barrel at 11.8mm at the base; the hole in the washer is slightly larger than the bolt it is for, so i'm guessing about the metric size.
Good luck and let us know how it works for you.
Good luck and let us know how it works for you.
-
mtl
- Location: USA
- Main keyboard: Custom
- Main mouse: IBM TrackPoint IV
- Favorite switch: Cherry MX Clicky
- DT Pro Member: -
Does anyone know what would be required to make an F13 XTant or if that is even possible? How similar are the F internals to those of the M and could they accommodate a TrackPoint?
-
wcass
- Location: Columbus, OH, USA
- Main keyboard: ibm model m
- Main mouse: kensington expert mouse
- Favorite switch: buckeling spring
- DT Pro Member: 0185
Data dump is coming soon. Since a lot of the files are in a format not supported for attachment here, i got a GitHub account and am just learning how to use it. Right now, the only file in there is the DXF used to make barrel plates, but expect that to change.
-
REVENGE
- DT Pro Member: -
Nice!wcass wrote:Data dump is coming soon. Since a lot of the files are in a format not supported for attachment here, i got a GitHub account and am just learning how to use it. Right now, the only file in there is the DXF used to make barrel plates, but expect that to change.
By the way, are you still going to produce some upgrade kits?
-
wcass
- Location: Columbus, OH, USA
- Main keyboard: ibm model m
- Main mouse: kensington expert mouse
- Favorite switch: buckeling spring
- DT Pro Member: 0185
I've re-discovered just how much i hate sales, so i am giving away the extra parts i have. My hope is that those i give the stuff to will document their build better than i have and suggest ways that the design can be improved.
-
wcass
- Location: Columbus, OH, USA
- Main keyboard: ibm model m
- Main mouse: kensington expert mouse
- Favorite switch: buckeling spring
- DT Pro Member: 0185
I have finally gotten around to boxing stuff up for the folks who have volunteered to put one of these together. These first kits include a PCB, neoprene pad (not cut, hope you don't mind cutting your own), 6 silver binder clips, 4 new 1" round cork feet, 2 barrel washers (for the space bar), #6-32 machine screw/nut/washers (to attach the controller), and 4 #4-40 machine screws and weld nuts (for securing PCB and plates). Not included (but needed) would be two extra XT barrels and a new top plate.
I searched my PMs to find the folks i promised these to get this list ...
I searched my PMs to find the folks i promised these to get this list ...
- dorkvader
fohat.digs
Muirium
prdlm2009
Thechemist
HaaTa
- hardware.JPG (333.33 KiB) Viewed 8987 times
-
Muirium
- µ
- Location: Edinburgh, Scotland
- Main keyboard: HHKB Type-S with Bluetooth by Hasu
- Main mouse: Apple Magic Mouse
- Favorite switch: Gotta Try 'Em All
- DT Pro Member: µ
Excellent! Thanks Wcass. I've got an XT waiting at my brothers for just this operation. I've got a few Model F barrels spare that I can try to separate between AT and XT. (Don't know the difference… yet!) What's the top plate? You mean the frame that holds the barrels in place? How did you go about making / sourcing yours?
Hoping you remembered my extra washer for the wobbly Kishsaver spacebar. (Nudge!)
Thanks man!
Hoping you remembered my extra washer for the wobbly Kishsaver spacebar. (Nudge!)
Thanks man!
-
wcass
- Location: Columbus, OH, USA
- Main keyboard: ibm model m
- Main mouse: kensington expert mouse
- Favorite switch: buckeling spring
- DT Pro Member: 0185
The top plate = the barrel plate. I did mine with 18 gauge CRS, but stainless would work too. You want something close to .05" (1.25mm) thickness. The link below has a DXF flile for making that.
https://github.com/wcass-/XTant/tree/master/XTant
XT/Bigfoot use a pin/hole to lock the barrel against rotation; AT/122/Kishsaver use a bulge/notch to lock the barrel from spinning. In a pinch, you can use an XT barrel in an AT/122/Kishsaver by cutting off the pin at the base. The only thing preventing it from spinning would be other barrels so best to put it as a middle column and middle row.
-
Hypersphere
- Location: USA
- Main keyboard: Silenced & Lubed HHKB (Black)
- Main mouse: Logitech G403
- Favorite switch: Topre 45/55g Silenced; Various Alps; IBM Model F
- DT Pro Member: 0038
@wcass: I sent you a PM. Thanks.
-
wcass
- Location: Columbus, OH, USA
- Main keyboard: ibm model m
- Main mouse: kensington expert mouse
- Favorite switch: buckeling spring
- DT Pro Member: 0185
I'd like to talk about the reason for some of the part choices I made.
The original PCB with integrated controller was connected to the back plate with two studs (to hold alignment) and a binding screw (for grounding). The new switch matrix PCB has a separate controller, so that one binding screw needs to provide good mechanical connection for both. The PCB is so near the top of the case that the original controller had all components mounted on the bottom of the PCB, so it seamed logical to me to put the controller under the switch PCB. The back plate has a captive nut embedded in it, so there is a lip around the screw hole on the bottom of the back plate. If something is not used to level out that lip, then the controller would be caught by it and both controller and switch PCB would not slide on/off without un-soldering. I chose to use an Arrow WA3/16 rivet washer for this because ...
The two studs that hold the original PCBs alignment are not where they need to be for the new switch PCB. I thought about using pop rivets, but not a lot of keyboard folks have a pop rivet tool. I also considered standard bolt/washer/nut, but there is not a lot of clearance between the PCB and barrel frame nor back plate and case bottom. I searched the McMaster Carr web site and found #4-40 weld nuts. When used upside down, these create a 1/8" stand-off with just 1/32" thick cap. I use two of these to hold the alignment of the barrel frame also. These are reasonably priced too at $6.33 per 100.
I tried to etch this PCB myself, but I just don't have the tools, materials, or enough skill to do a PCB this big. I only needed one or two copies of my design to see if it would work. I though about using the same guys xwhatsit used to make his controller - OSH Park - known for their purple solder mask, low minimum order, and simple pricing of 3 copies for $5 per square inch. But at 90 square inches, my design would cost $150 per copy. I requested quotes from about 6 different PCB fabricators and went with PCBWay because it was the least expensive of the bunch. The price-per-piece went down very quickly with 10 copies costing less than double the cost of 1 (under $20 per copy). Delivery was fast and quality is good. I'm very likely to use them again.
The original PCB with integrated controller was connected to the back plate with two studs (to hold alignment) and a binding screw (for grounding). The new switch matrix PCB has a separate controller, so that one binding screw needs to provide good mechanical connection for both. The PCB is so near the top of the case that the original controller had all components mounted on the bottom of the PCB, so it seamed logical to me to put the controller under the switch PCB. The back plate has a captive nut embedded in it, so there is a lip around the screw hole on the bottom of the back plate. If something is not used to level out that lip, then the controller would be caught by it and both controller and switch PCB would not slide on/off without un-soldering. I chose to use an Arrow WA3/16 rivet washer for this because ...
- the hole diameter is large enough to fit around the captive nut
the outer diameter is small enough to not block the connecting wires
the thickness is slightly greater than the height of the captive nut
they are cheap - only $2 for 30 at my local Lowes hardware store
- washerful.JPG (161.85 KiB) Viewed 8930 times
- stud.JPG (194.51 KiB) Viewed 8930 times
- PCB.jpg (101.1 KiB) Viewed 8930 times
-
GuilleAcoustic

- Location: France
- Main keyboard: IBM Model F XT
- Main mouse: CH Products Trackball Pro
- Favorite switch: capacitive buckling spring
- DT Pro Member: -
That is awesome ! Could we imagine smaller sized F then (read 60%, 40%) ?
-
Muirium
- µ
- Location: Edinburgh, Scotland
- Main keyboard: HHKB Type-S with Bluetooth by Hasu
- Main mouse: Apple Magic Mouse
- Favorite switch: Gotta Try 'Em All
- DT Pro Member: µ
That second picture looks a lot like 60% to me! Or even smaller. Hard to tell from below, but looks like 5x12 columns. 60% is 5x15!
-
macmakkara

- Location: Finland
- DT Pro Member: -
Mu i don't know how you count.
But for me it looks exactly same pcb in both pics just flipped for other.
But for me it looks exactly same pcb in both pics just flipped for other.
-
chzel

- Location: Athens, Greece
- Main keyboard: Phantom
- Main mouse: Mionix Avior 7000
- Favorite switch: Beamspring, BS, Vintage Blacks.
- DT Pro Member: 0086
Mu, the PCB has two pads on one side and one on the other for every key position!
It is like this: --_-- (I know, you are all in awe of my expert ASCII art... )
)
It is like this: --_-- (I know, you are all in awe of my expert ASCII art...
-
Muirium
- µ
- Location: Edinburgh, Scotland
- Main keyboard: HHKB Type-S with Bluetooth by Hasu
- Main mouse: Apple Magic Mouse
- Favorite switch: Gotta Try 'Em All
- DT Pro Member: µ
Right, it's a bit of an optical illusion. My eyes are saying NO!!! IT'S A SMALL ONE!! but I bet you're right. Just look at Xwhatsit's controller: those don't come in a miniature size!
-
wcass
- Location: Columbus, OH, USA
- Main keyboard: ibm model m
- Main mouse: kensington expert mouse
- Favorite switch: buckeling spring
- DT Pro Member: 0185
The last 3 kits hit the mail today. The folks that I sent parts out to, you are free to go as far off script as you like, but today I'd like to tell you how I put mine together.
Start by ordering a barrel frame - sorry about not including one in the kit. Take an IBM XT keyboard and remove the two screws and pull off the case bottom. Remove the key assembly and set the case aside. Remove the cable from the controller. Remove the rubber grommet from the old cable. I got mine off by splitting the grommet with a razor along one of the seams as deep as the wire (half way through) and then pealed the cable out. Looking at the back of the key assembly with the key caps on a table top and the controller up, bend the top right tab up and slide the back plate to the right relative to the barrel frame. Be careful not to loose any buckling springs as the assembly opens up. Remove the buckling springs, barrels, and key caps from the barrel frame and foam. Remove the PCB from the back plate. Clean the case, back plate, grommet, barrels, and buckling springs - these were reused.
The two rivets on the back plate are not where they need to be. I removed them using a rotary tool with a cut wheel - cut away the flange on the back of the plate then popped the tops off. The new PCB has one hole for a new stud between the Caps Lock and A and another hole between right bracket and pipe-backslash. The second of these two holes is not in the best location and I plan to move it between Enter and up arrow. You might make a new hole in the PCB there and use that. I used two clamps to hold the PCB to the back plate to mark the location to drill new holes. Aligned properly, you should see two white silkscreen dots through the old rivet holes on the back of the back plate. Mark the back plate through the new holes and drill with a 1/8" bit. Secure the PCB with two #4-40 x 1/4" flat head machines screw (plate side) and weld nuts (PCB side), and #6-32 x 3/8" bolt with a star washer on the PCB side. With the back plate facing up, put the rivet washer over the #6 bolt and around the captive nut. Put on the controller, star washer and then nut. Feed wire through controller and switch PCBs and solder on both sides. Columns 13 thru 16 go to ground on the switch matrix PCB, so no wires there if using xwhatsit controller (it might confuse the controller) but wires there should be OK for DPH controller (designed to auto-skip grounded columns).
The back plate and new barrel frame can be attached so tightly that the foam pad is probably not required. I did use a thin pad; that went on first. Insert barrels in the frame (you will need two more than what came with the XT), buckling springs, and plastic inserts in the barrels where they need to go. Secure the barrel frame to the back plate with two #4-40 x 3/8" flat head machine screw (back plate side) and weld nut (barrel frame side). Use the binder clips to clamp along the top and bottom of the switch assembly. Check the fit into the case top cover as the clips might need to move left or right. Remove the clip handles, put stabilizer-hold-down washers on the C and < barrels, and put on the key caps.Test fit the new USB cable and super glue the grommet onto the new cable. Put new birth certificate on the back plate (optionally, initial and date by hand). Put the case bottom on and screw it down.
-
Hypersphere
- Location: USA
- Main keyboard: Silenced & Lubed HHKB (Black)
- Main mouse: Logitech G403
- Favorite switch: Topre 45/55g Silenced; Various Alps; IBM Model F
- DT Pro Member: 0038
@wcass: Thanks for your hard work and dedication! You have made an excellent contribution to the mechanical keyboard community!
-
Muirium
- µ
- Location: Edinburgh, Scotland
- Main keyboard: HHKB Type-S with Bluetooth by Hasu
- Main mouse: Apple Magic Mouse
- Favorite switch: Gotta Try 'Em All
- DT Pro Member: µ
Yup, great work. Thanks for giving a bunch of us the chance to make more XTants out in the wild! I'm looking forward to this as a project when I'm California in April. The XT's waiting, as is one of Ellipse's Model F Xwhatsit controllers. I'll bring a couple of Model F barrels and flippers with me.
Any advice, Wcass, about where to order the plate? Did you cut your own barrel cutouts? If not, whatever file you sent your manufacturer would be most helpful for us! And the details of your custom Unicomp caps order would be informative too.
Xwhatsit's controller can skip grounded columns. There's a tab for it in his GUI. If we hook them up accidentally, rest assured it's no big deal! I might even do the whole lot on purpose, for symmetry's sake…
-
Touch_It

- Location: Nebraska, United States.
- Main keyboard: Unicomp Classic USB 103 key (work) IBM F 4704 107
- Main mouse: Logitech g502 Proteus Core
- Favorite switch: Buckling spring (yet to try Beam Spring)
- DT Pro Member: -
Thought I would throw out that 3178's use a pin. Also until a couple days ago I had no idea there were different barrels. The more you know.gifwcass wrote: The top plate = the barrel plate. I did mine with 18 gauge CRS, but stainless would work too. You want something close to .05" (1.25mm) thickness. The link below has a DXF flile for making that.
https://github.com/wcass-/XTant/tree/master/XTant
XT/Bigfoot use a pin/hole to lock the barrel against rotation; AT/122/Kishsaver use a bulge/notch to lock the barrel from spinning. In a pinch, you can use an XT barrel in an AT/122/Kishsaver by cutting off the pin at the base. The only thing preventing it from spinning would be other barrels so best to put it as a middle column and middle row.
-
Muirium
- µ
- Location: Edinburgh, Scotland
- Main keyboard: HHKB Type-S with Bluetooth by Hasu
- Main mouse: Apple Magic Mouse
- Favorite switch: Gotta Try 'Em All
- DT Pro Member: µ
Ah, thanks for that. I should have remembered this came up before.
Is Wcass's plate design cunning enough to have the appropriate notches to take all Model F barrels right across the board? (I don't know how to view DXF files conveniently.)
Is Wcass's plate design cunning enough to have the appropriate notches to take all Model F barrels right across the board? (I don't know how to view DXF files conveniently.)
-
wcass
- Location: Columbus, OH, USA
- Main keyboard: ibm model m
- Main mouse: kensington expert mouse
- Favorite switch: buckeling spring
- DT Pro Member: 0185
The design calls for using an XT (or Bigfoot) keyboard case, so i consciously chose to use same type barrels that they use. Any future design i do would likely have both notch and pin for all holes or at least the holes around the perimeter and maybe just a notch for the holes in the interior.
I just tried out two online viewers -
https://gallery.proficad.com/tools/autocad-viewer.aspx = white lines on black
https://www.sharecad.org = black lines on white
I just tried out two online viewers -
https://gallery.proficad.com/tools/autocad-viewer.aspx = white lines on black
https://www.sharecad.org = black lines on white
-
wcass
- Location: Columbus, OH, USA
- Main keyboard: ibm model m
- Main mouse: kensington expert mouse
- Favorite switch: buckeling spring
- DT Pro Member: 0185
Big Blue Saw (waterjet and laser cut service) is sponsoring a "Spring" design contest and I entered. I collected a bunch of ideas that i had discarded when designing the XTant - but i feel these ideas may have merit in a new project. I hope that you will consider voting for a project to make a new buckling spring keyboard even if you don't love all of the ideas i plan to try out.
Thanks
https://www.facebook.com/pages/Big-Blue ... e_internal
Thanks
https://www.facebook.com/pages/Big-Blue ... e_internal
-
Hypersphere
- Location: USA
- Main keyboard: Silenced & Lubed HHKB (Black)
- Main mouse: Logitech G403
- Favorite switch: Topre 45/55g Silenced; Various Alps; IBM Model F
- DT Pro Member: 0038
@wcass: The Xtant PCB looks like it is set up so that it would be possible to split the Backspace, Left Shift, and Right Shift. Is this so? (I've posted the same question in the Xtant thread on GH; for those DT members who do not also follow GH, I thought I should post in both places).
One reason I ask is that I was planning to use blank black mods. I just checked with Unicomp, and they still sell the blank black set, but the blank black Right Shift is out of stock and they do not know if/when it will be back in stock. If the Right Shift can be split, then other combinations of keys might work in the Right Shift location.
One reason I ask is that I was planning to use blank black mods. I just checked with Unicomp, and they still sell the blank black set, but the blank black Right Shift is out of stock and they do not know if/when it will be back in stock. If the Right Shift can be split, then other combinations of keys might work in the Right Shift location.