Below are the pictures that somehow document how I cleaned the board in question. I added some explanations directly to the attachments.
I, by the way, only did one cleaning session, as the PCB was really clean after the first run, which I could only really see after the PCB was completely dry, which didn't take very long, as the whole process did not involve a lot of water.
The steam cleaner I used looked very similar to the one you can see in
this picture, although mine (or better: my parents') is red. The vapour stream the steam cleaner produced really was rather dry, because the steam was so hot and was released under a rather high pressure, I think. Nonetheless, I could regulate the steam pretty well, simply by varying the distance from the nozzle (I didn't use any kind of attached brush, only the steam) to the parts I wanted to clean. Keeping a high distance, I could easily blow off the remaining dust (yes, the steam was dry and fast enough to blow off the dust and did not moisten the dust in a way that it stuck to the PCB), while at a low distance, the steam cleaner almost behaved as some kind of high-pressure water blaster, although it only released a bit of liquid water when I didn't pay enough attention (after a couple of seconds of not using the steam cleaner, some water gathered at/in the tip of the nozzle due to steam cooling down).
After the first run of steam cleaning and after letting the whole thing dry for about 3 days, I detected some dirt that didn't come off. The dirt stuck to the switches, but only in a very loose way, so it could be brushed off by a paintbrush. That there still was some dirt left was (I'm almost certain of that) the result of the cleaning method itself. As I could only blow the dirt around on the PCB, some dirt naturally managed to hide in some gaps, but since this dirt didn't have this cement-like consistence any more, that was not really a problem. I could have probably got rid of it with the steam cleaner, as well, but I simply oversaw some dirt due to poor lighting conditions and the dirt transforming into some kind of dark jelly when it was unloosened by the steam.
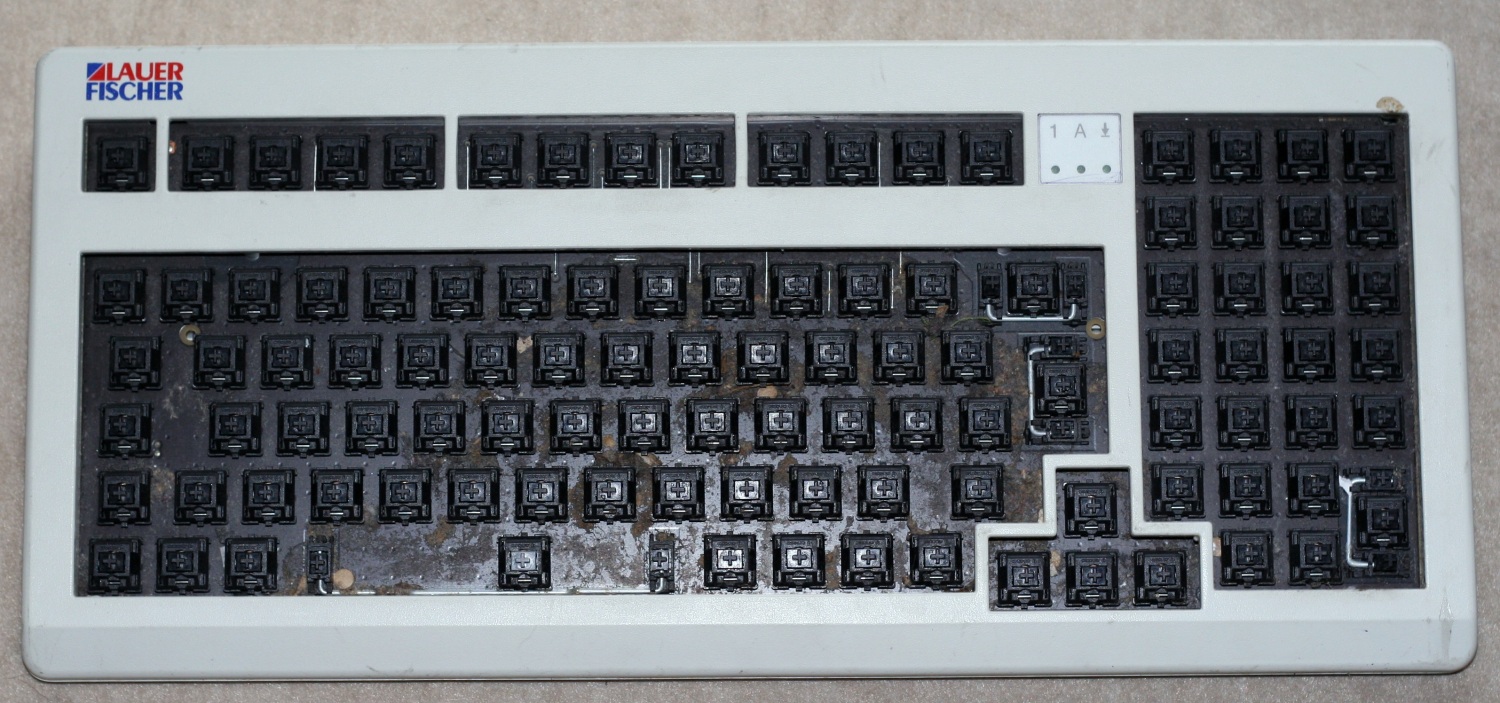
- A picture of the complete keyboard without caps, before steam cleaning, after vacuuming.
- 01_keyboard.JPG (377.8 KiB) Viewed 9102 times
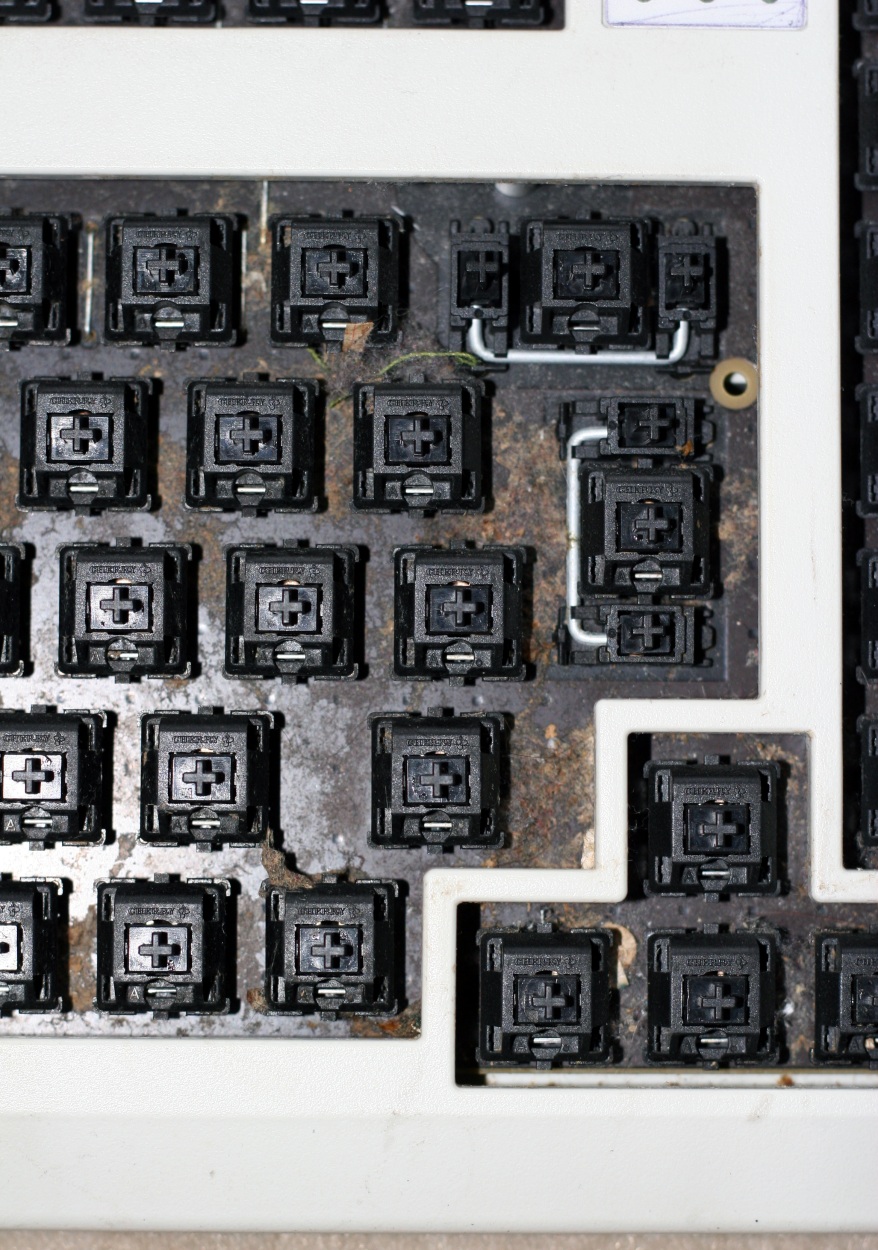
- A detailed picture (01) of the dirt on the PCB, before steam cleaning, after vacuuming.
- 02_detail_dirt_01.JPG (399.99 KiB) Viewed 9102 times
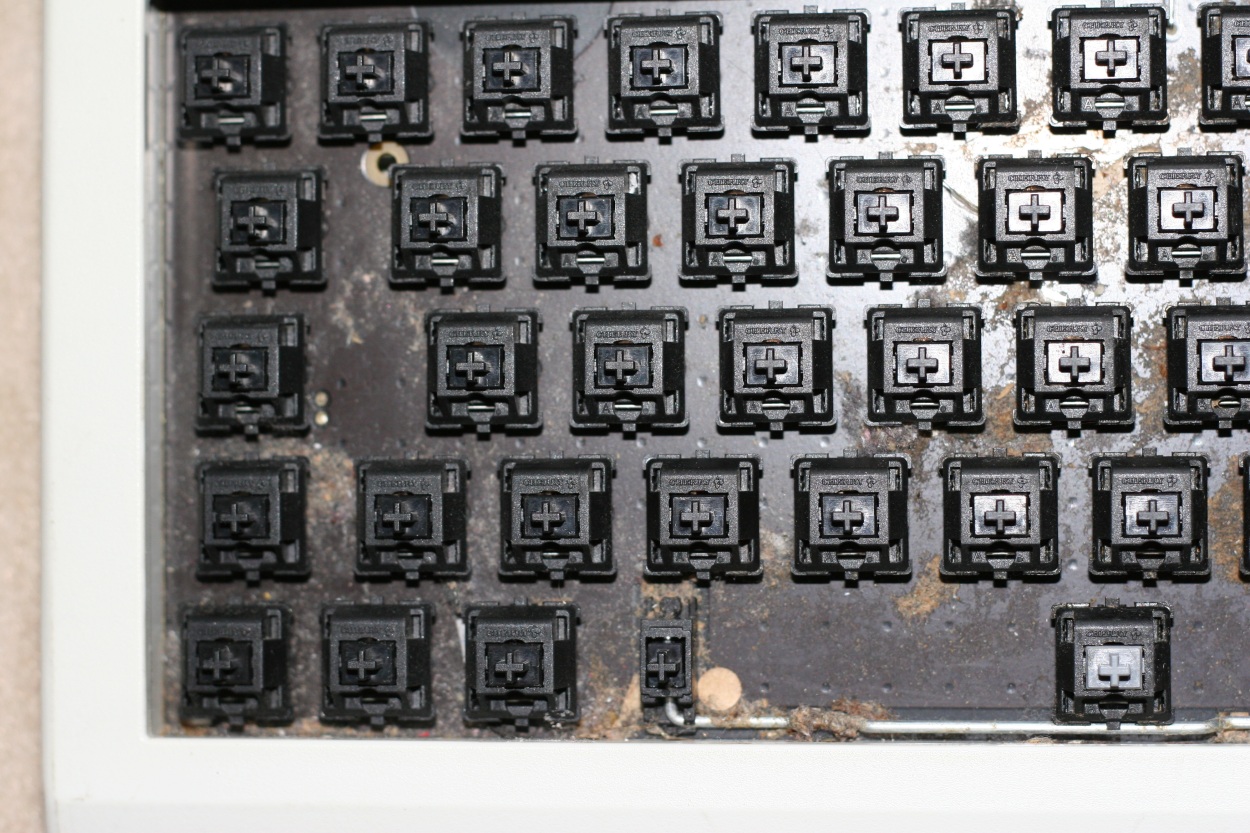
- A detailed picture (02) of the dirt on the PCB, before steam cleaning, after vacuuming.
- 03_detail_dirt_02.JPG (396.79 KiB) Viewed 9102 times

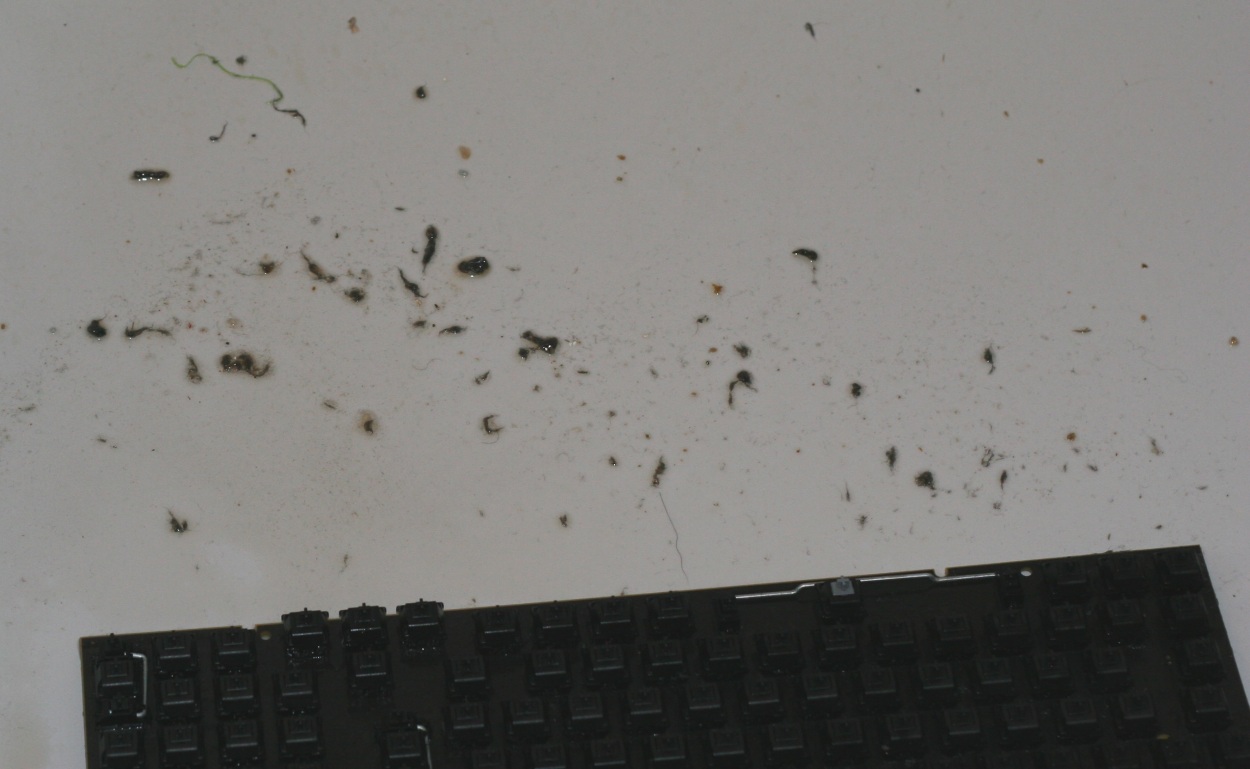
- A picture of the steam cleaning process, showing the PCB in a shower base (I didn't know beforehand how much water would really be involved, and I didn't want to spread the dirt everywhere) and some of the dirt that came off. As you can see, the whole cleaning was relatively dry, at least in comparison with bathing the whole PCB.
- 04_cleaning_01.JPG (285.19 KiB) Viewed 9102 times
- Some more dirt in the shower base... Lovely, isn't it? :D
- 05_cleaning_02.JPG (168.35 KiB) Viewed 9102 times
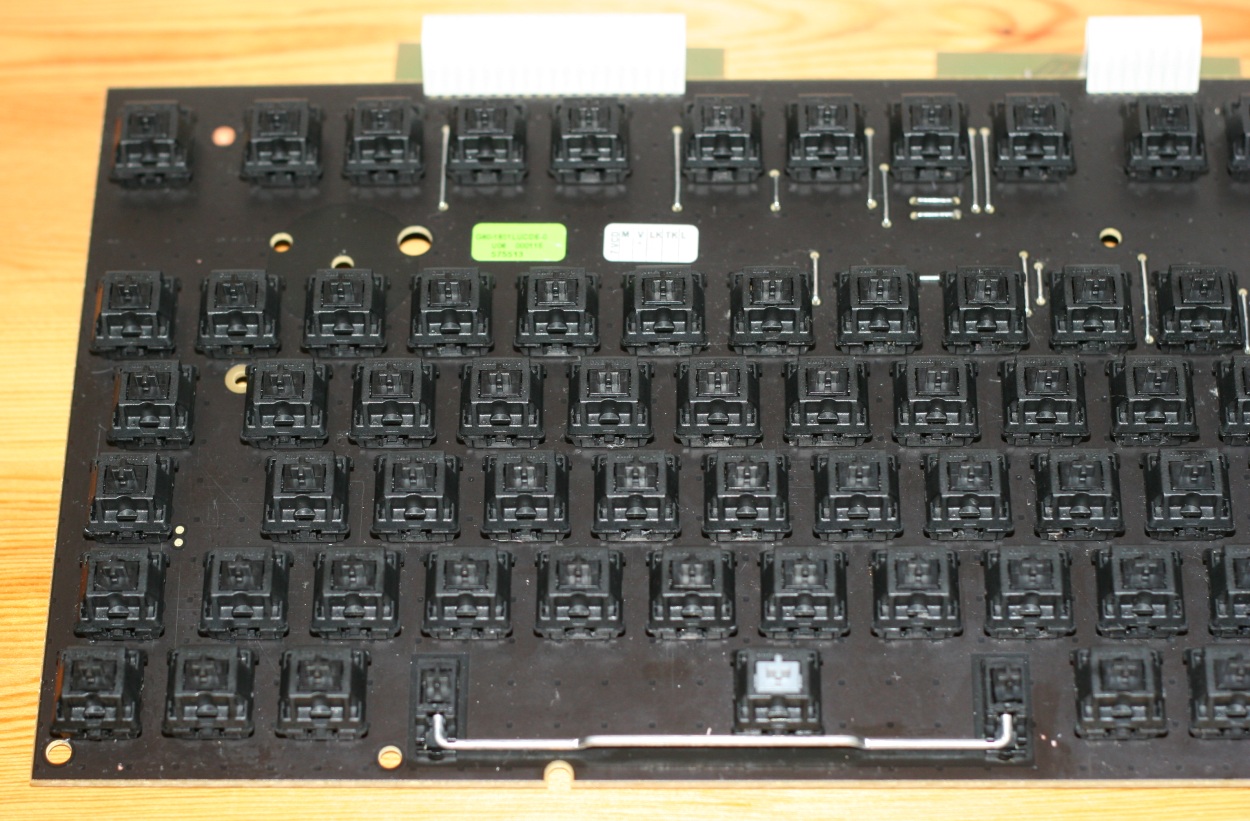
- A picture of the clean and dry PCB, showing the left side with the switch for the spacebar (grey switch), after I tried to lubricate some of the switches. The shiny parts of the PCB (bottom left corner and the area near to the spacebar stabiliser) are the result of me smearing some of the silicon oil on the PCB by mistake and clumsiness...
- 06_clean_pcb_01.JPG (326.27 KiB) Viewed 9102 times
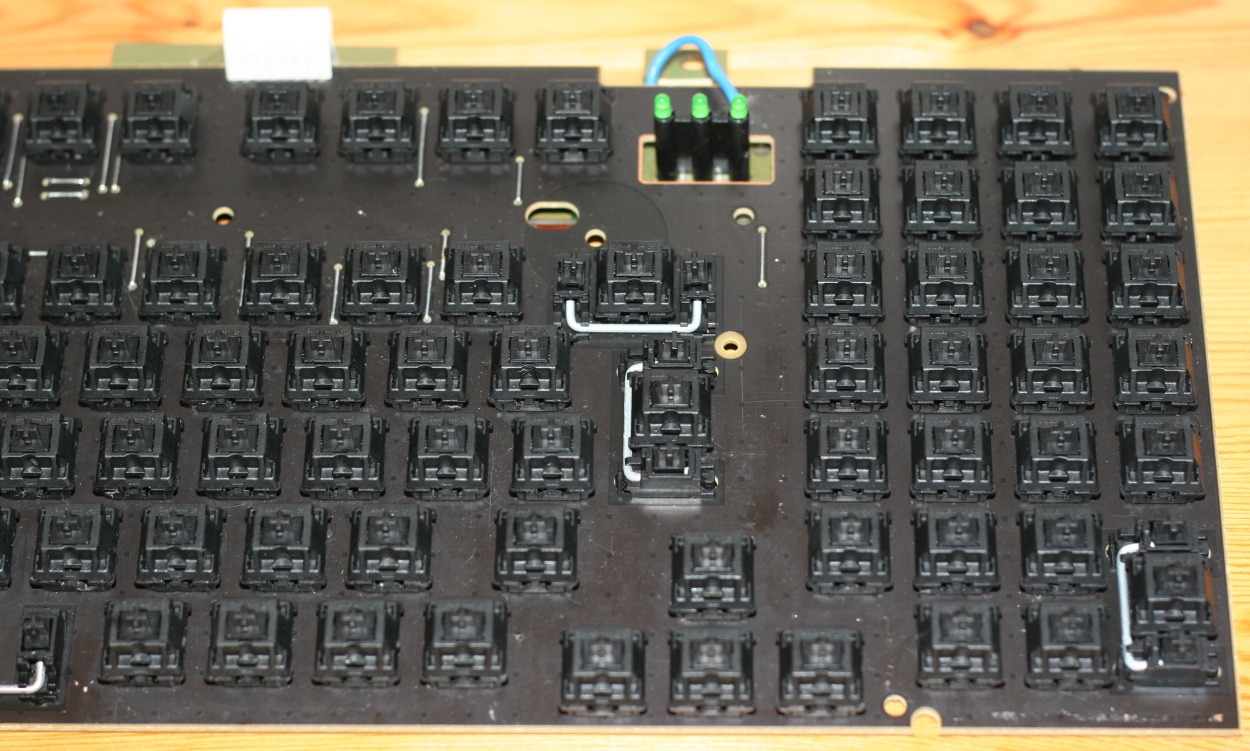
- A picture of the right side of the PCB after steam cleaning. The things that look like scratches (amongst the switches) are "residues" of the hairs that didn't come off, because of the steam cleaning, since they somehow sticked to the switches as they were wrapped around them. I removed these with a paintbrush, tweezers and a vacuum cleaner after the PCB was completely dry. These "residues" could probably have been removed very easily by wiping (so no damage to the PCB whatsoever), but I was too lazy to do so.
- 07_clean_pcb_02.JPG (309.49 KiB) Viewed 9102 times
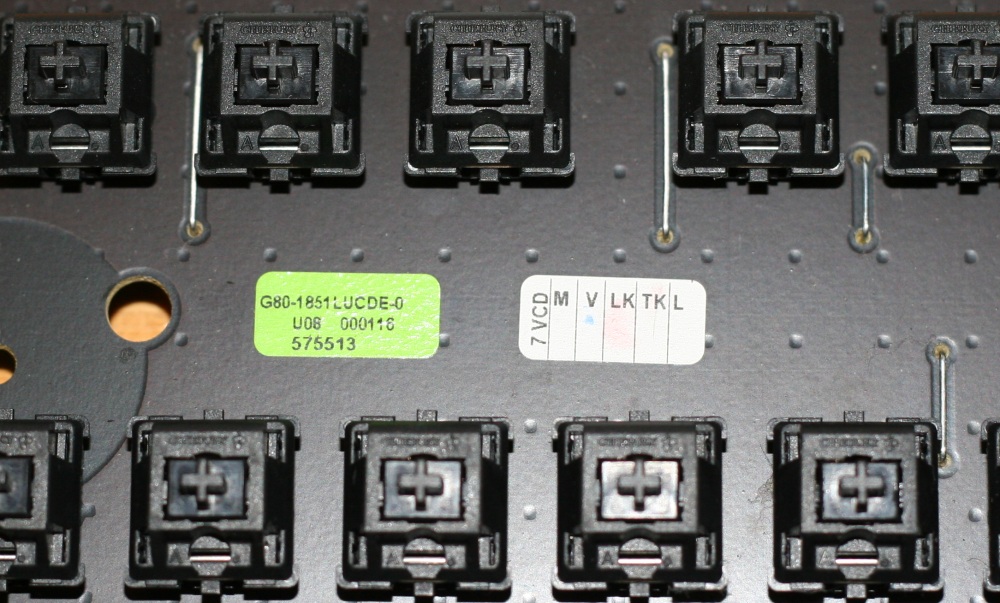
- A detailed picture of the stickers on the PCB, showing that the cleaning was indeed rather gentle, as they weren't damaged.
- 08_stickers.JPG (230.17 KiB) Viewed 9102 times
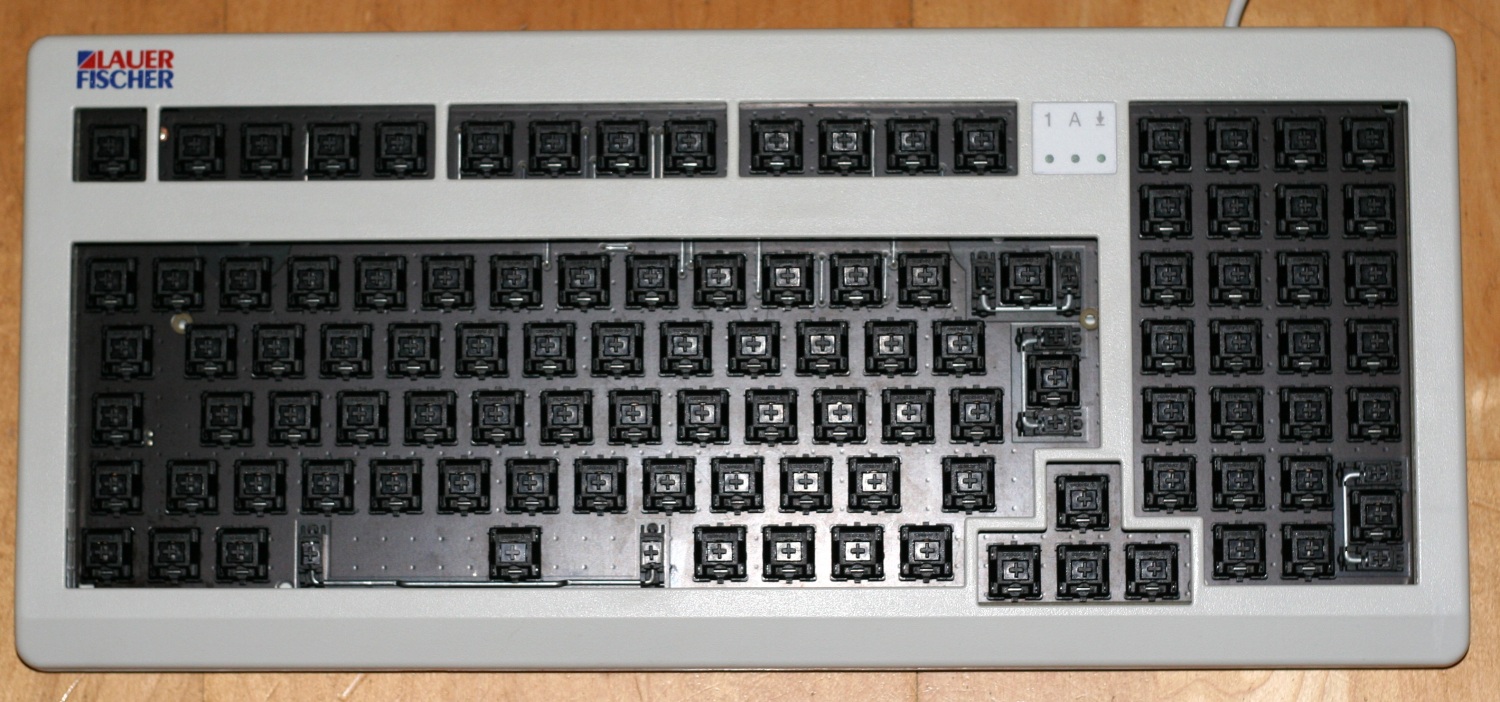
- A picture of the whole keyboard after cleaning (the case was cleaned "the traditional way" with a washing-up brush and neutral soap), before I put the caps back on, while I was still full of hope considering the switches...
- 09_clean_board_without_keycaps.JPG (339.22 KiB) Viewed 9102 times
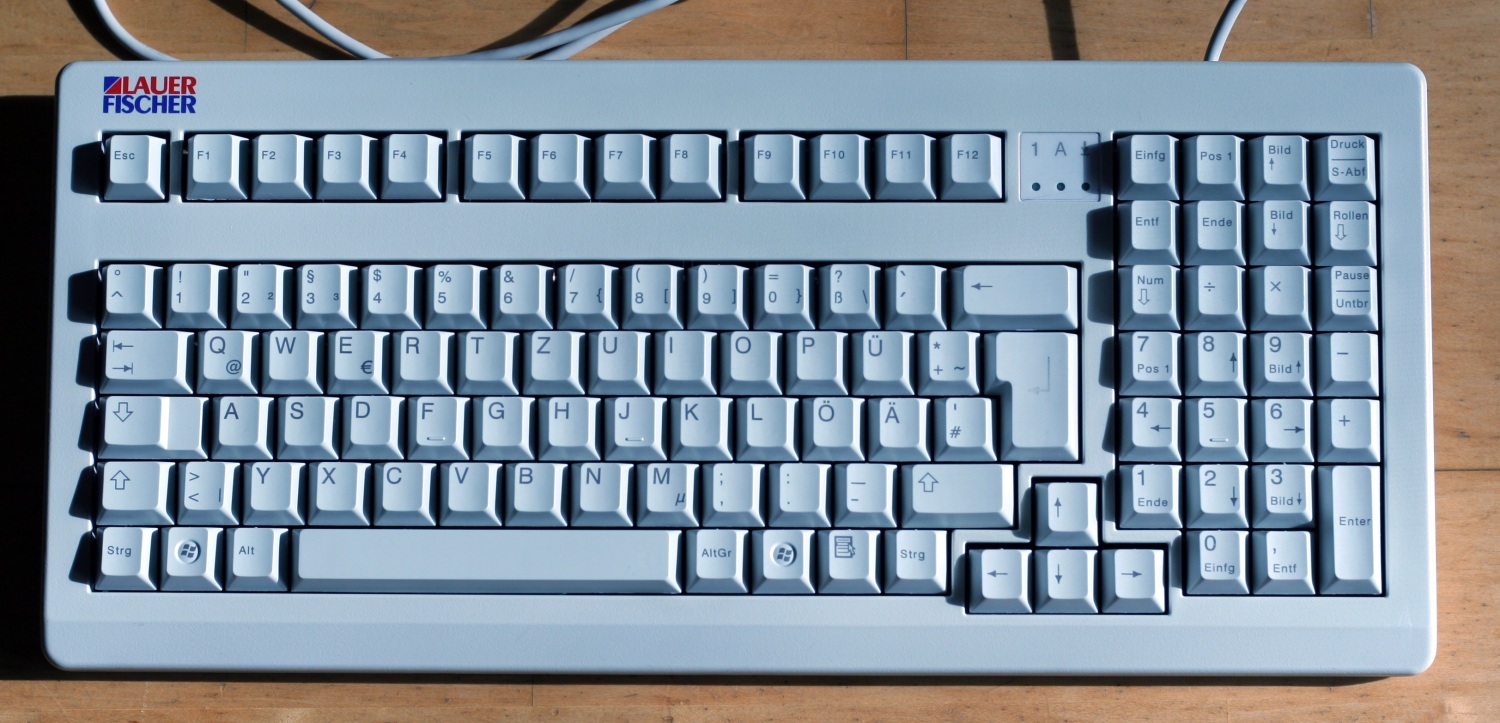
- The clean board (top) with the keycaps back on. I got rid off the really nasty stains by a lot of rubbing with petrol, by the way.
- 10_clean_board_top.JPG (329.06 KiB) Viewed 9102 times
So all in all, I think this method of keyboard cleaning has great potential, although I cannot really say a lot about the effects the steam cleaning had on the switches, as some of the switches were sticky before. Apart from that, I think the switches in question were stickier before the cleaning and I could open some switches after the cleaning that I didn't manage to open before, so maybe there is even a positive effect on sticky switches.
Oh, and last but not least, if there are any questions, feel free to ask.
Keyboard science, bitches!


